Using 2 4 foot long straightedges, one on the fold line, and one
on the back side, very carefully fold the wing over. If you usually use a
table to bend the wing, thats fine. Whatever works for you. Since it
is so long, and in one piece, it is important to use a straightedge across the
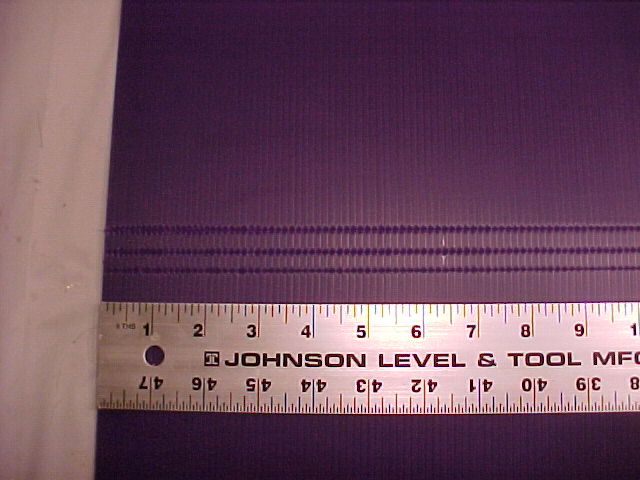
wing while you bend it. Here are my score lines, close up.
Once you get the wing bent over, you need to check and make sure all
the edges line up. If they don't, cut off the excess, so they all line up.
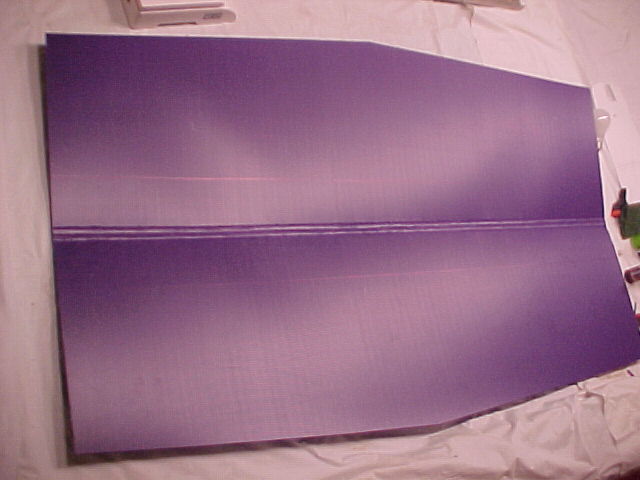
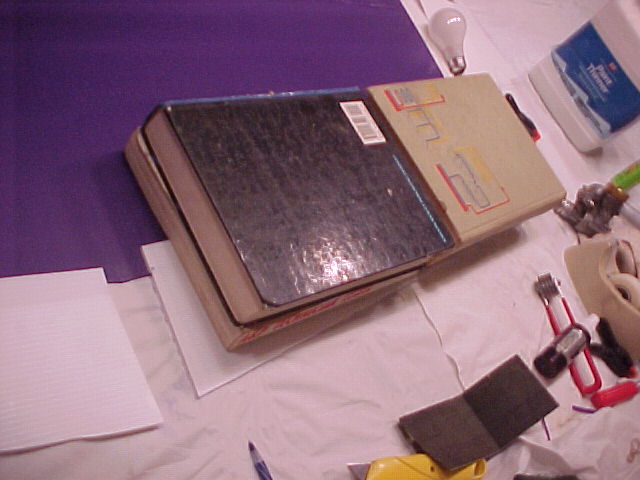
Here's a pic of the wing after scoring:
Now you need
to prep the coroplast. Prep the entire inside of the wing, and the portion
of the ailerons that will glue inside the wing using the mineral spirits and
scotchbrite method described earlier, or whatever works for you.
Mark the spar lines, 3 1/2" behind the middle score, on both
sides. The spar will be slid in after the wing is glued together.
Mark a line 3/4" behind the spar lines, this is so you know where
to woodpecker.
The spar is held in place with polyglue, and for
polyglue to grip properly, it needs little holes for the glue to expand into.
If you don't have a woodpecker tool, use an exacto knife, and poke
holes on the spar area (the area between the spar line and the line 3/4" behind
it) through the inside of the coroplast, appoximately 1/4" on center. This
is very important for getting a well stuck spar.
A note on
coroplast- it varies widely between soft and stiff. White seems to
be the stiffest, and thats why i use it for my control surfaces. If it
seems too flimsy, it probably is. If it is, you'll need to polyglue bamboo
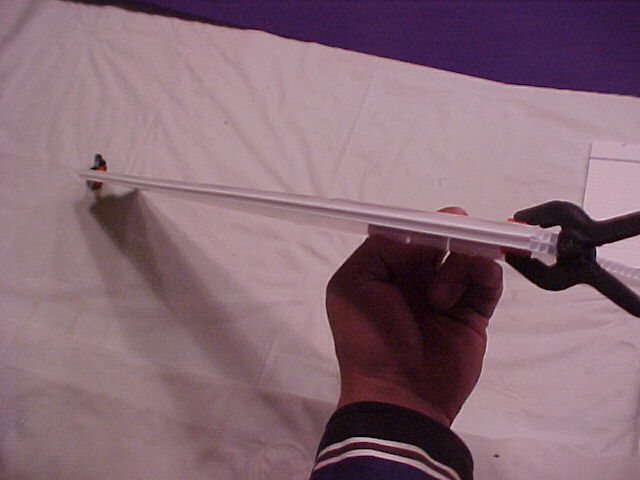
skewers into the flutes to stiffen it up some. Here's how i free up my
hinges:
Bend it back as shown, and LIGHTLY, and i mean VERY LIGHTLY
sand the exposed portion of the hinge. 2 or 3 swipes is all it takes.
If in doubt, check and see. They get real loose real fast.
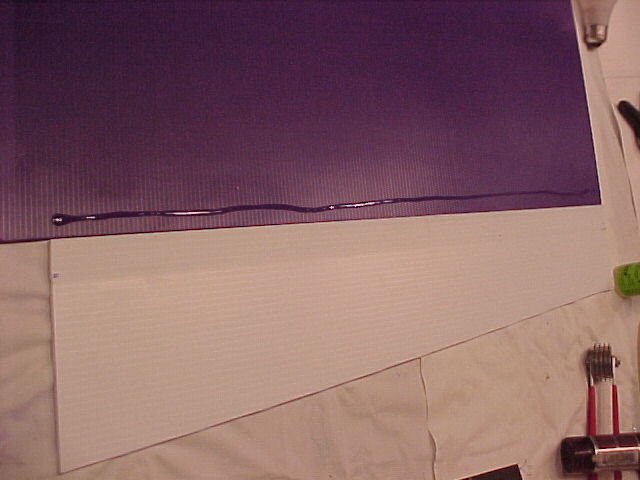
Now, lay the hinges in line with the bottom of the
wing skin, as they are to be glued in place.
this is what i mean.
I took this pic to show exactly how much ca i use when gluing.
The
ailerons are ready to be glued to the lower wing skin now. Here's how i do
mine: Align the outer edge of the aileron, with the outer edge of the wing
skin, and the inner portion of the removed flute with the wing skin, and press
it in place. Then move the other end of the aileron, and line the inner
portion of the removed flute with the wing skin, and press it in place.
Now press the rest in place, and weight it down, like
this: